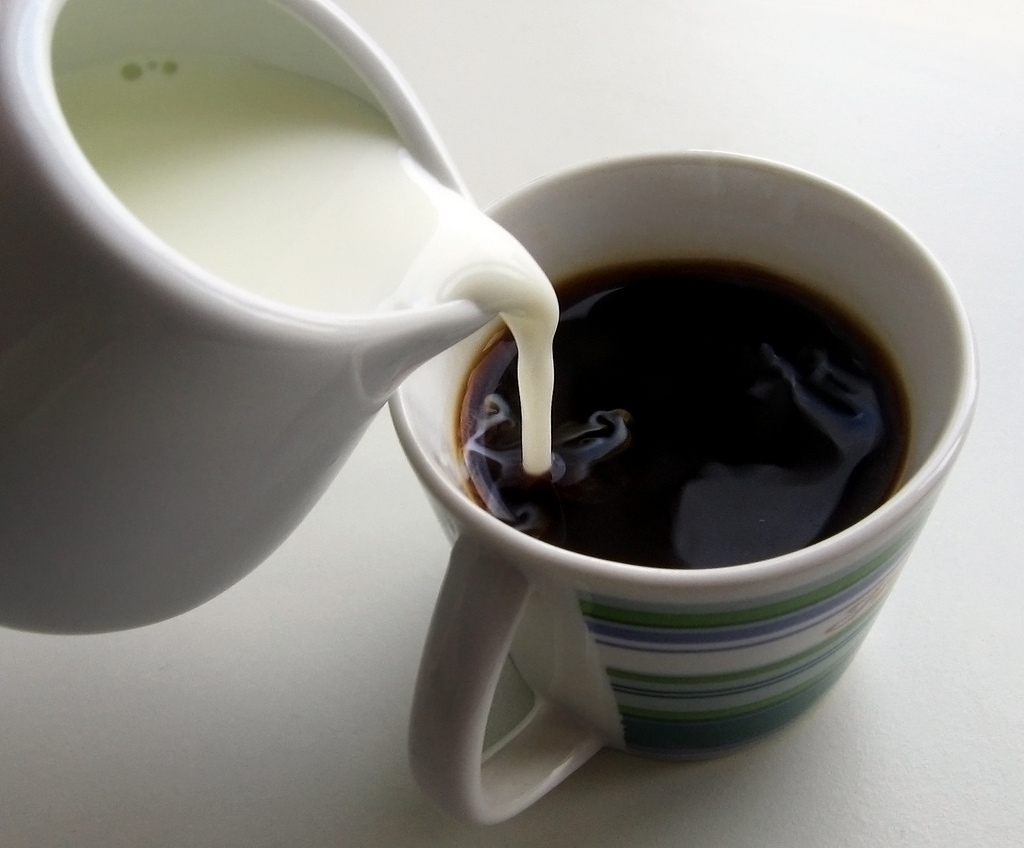
The same principle applies to latte art in coffee. By mastering just a few simple movements, a barista can delight customers with a delicious coffee and beautiful design.
We spoke with Derrick Wessels, fourth-place finisher at the 2016 World Latte Art Open and founder of the Colorado coffee roaster Beagle Coffee Company, and learned a few insightful tips about the fundamentals of making great latte art. He said that latte art can dazzle a consumer and visually hook them into the beverage.
“We eat with our eyes first,” Derrick said. “A lot of interaction with the world is a visual thing. So when we see something that’s aesthetically pleasing, as well as really tasty, it makes the whole experience better.”
Starting Latte Art
The two basic designs that a novice latte artist can begin with are the monk’s head (a simple circle) or a heart. But with any design, start with pulling a shot of espresso that has a clear presence of crema on top – this will enhance the contrast of your latte art when you pour the design.
Steaming the Milk

For the rest of the steaming process, spin the milk in a circle so the air becomes evenly mixed throughout the milk. This is called rolling or vortexing.
To create high-contrast, glossy latte art, your milk should have about one-fourth of an inch of foam at the top of the cup. The milk should be without air bubbles and have a smooth texture like wet paint, and it should adhere to the side of the pitcher when swirled around.
Which milk should you mix with coffee?
Pouring the Milk

Your milk pour should flow from the pitcher at a medium rate – not so slowly that the milk stream becomes chunky, but not so fast that it rushes under the crema. The milk should flow smoothly and slightly mix in with the espresso, while still maintaining contrast.
As the cup fills to the halfway point, move your pitcher either gently back and forth or in a small circle to agitate the crema and mix it in with the milk. As the cup becomes three-quarters full, lower the pitcher just above the cup (you can even dip the pitcher into the liquid itself) and start to lay the milk on top of the crema, rather than pouring it underneath. This should give you a good contrast between the milk you’re laying on top and the brown crema around the outside of the design.
For a monk’s head: continue pouring straight into the center of the cup, and you’ll create small circle. For a heart: lift your cup at the end, and gently move your pitcher from the top of the cup, which is closest to your pitcher-pouring hand, to the bottom of the cup, which is farthest away. This move is called a strikethrough.
Tips for Latte Art Beginners
If you’re still struggling with some of the latte art basics, remember to keep these gems from Derrick in mind:
- “Your first mission as a barista is to make your drink taste good” – so mastering the basics of making a great latte first. And if you’re steaming milk that tastes good, you’re more likely able to make good latte art with that milk.
- “Get really high contrast designs that fill the cup” – it’s the first aspect of latte art that you should focus your energy on. Make sure there is a clear contrast between the milk you lay on top of the espresso and the brown crema surrounding it.
- “Relax and pour in a way that feels natural” – pouring milk too slowly or rushing the milk into the cup will ruin the integrity of the beverage and make it difficult to make good latte art.
And to make consistent latte art with clean milk, it's important to remove that nasty milk residue from your espresso machine that can build up on steam wands, valves and tubes. Our Rinza tablets and liquid effectively break down milk residue on milk frothers, steam wands, traditional and super automatic espresso machine. No more crying over spoiled milk.
And remember – it’s impossible to master a latte art design without plenty of practice. So buy yourself a few gallons milk, spend some quality time with your espresso machine, and get pourin’!


