Cleaning a roaster also means that you’re cleaning several different parts of the machine: there’s the chaff collector, impeller fan, cooling tray, and all the ducting and piping. And there’s a lot of gear required to clean it too: vacuums, scrapers, gloves, protective eyewear, and the cleaner itself (luckily, we have this element well-handled with our super effective roaster cleaning products).
There are two vital reasons that a roaster should be thoroughly cleaned. First, a dirty roaster can pose as a fire hazard since coffee oils and chaff are highly flammable. And a dirty roaster can disrupt the airflow of the machine, throwing one of a coffee roaster’s two controls into total haywire and altering the quality of the batch.
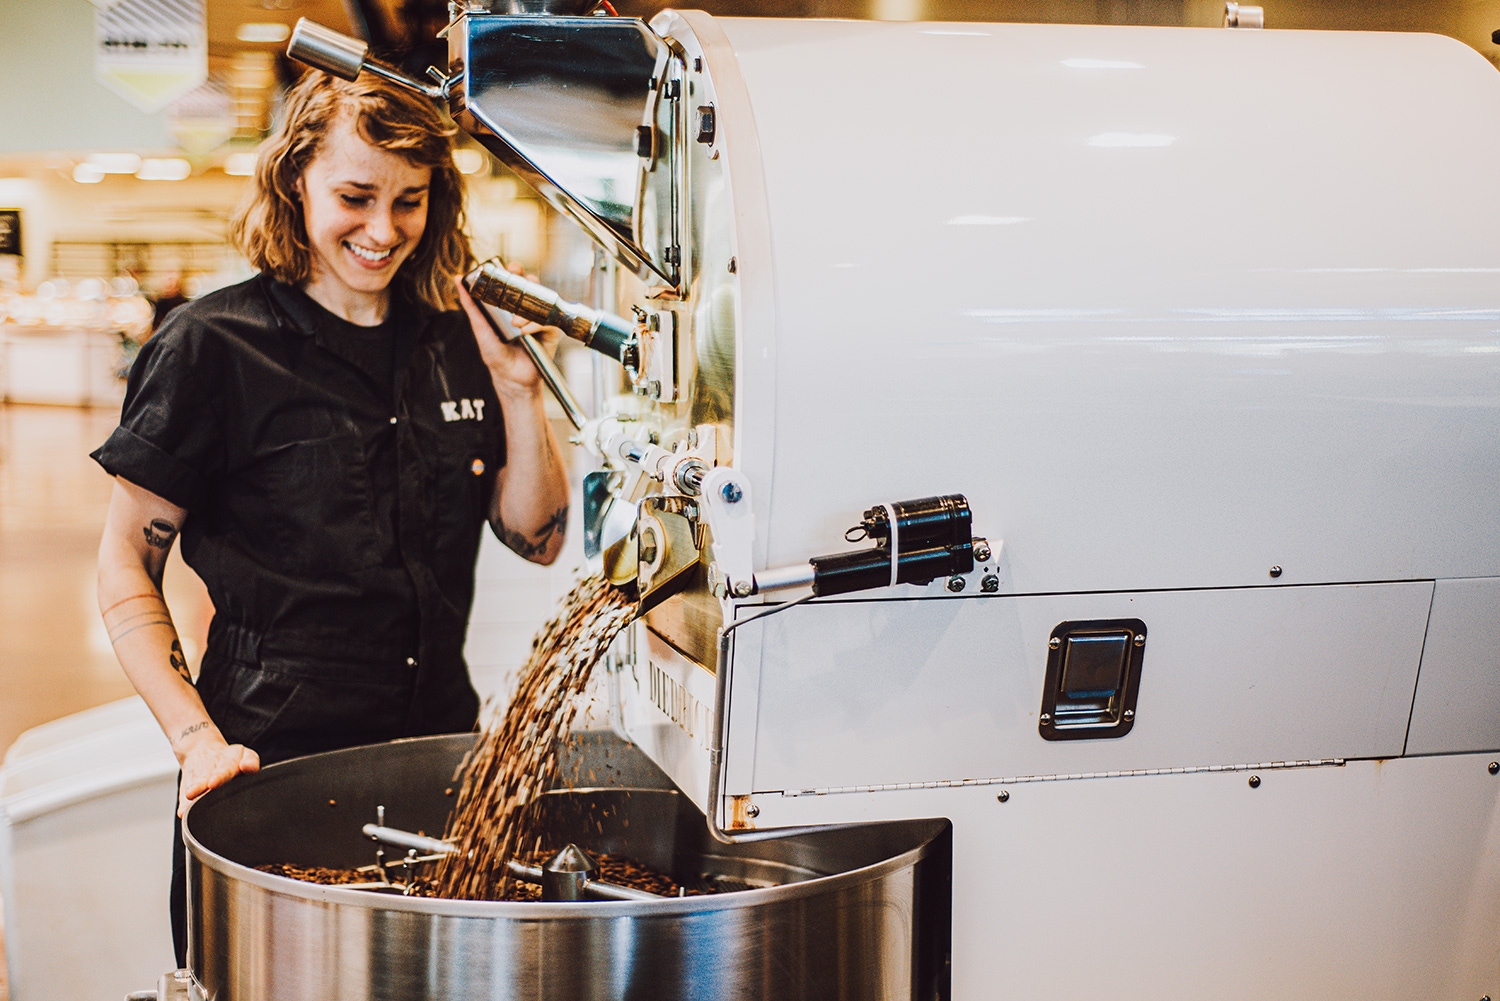
But have no fear, roaster folks! We will accomplish our mission of securing a spotless roaster! And we’re going to do it with help from one our favorite coffee people: Kat Melheim is a master coffee roaster and publisher of the beloved Coffee People Zine, and we got the down and dirty from her on everything a roaster should know to clean their machine.
Here are Kat’s 12 essential tips to cleaning any coffee roaster:
1. All coffee roasters are different. Manufacturer to manufacturer, even machine to machine, coffee oils build up in different places and at different rates on the inside of each roaster. Take time to find where residue builds up within YOUR machine so you can stay proactive in keeping it clean!
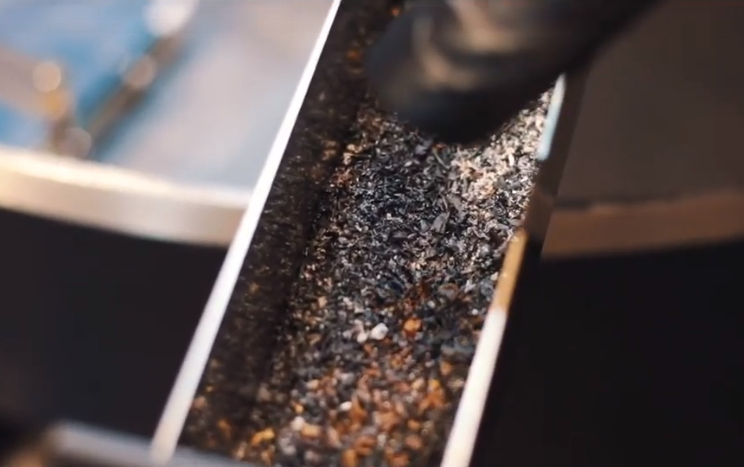
2. Chaff is a papery substance that comes off of coffee beans during roasting. All roasting machines have a chaff collection chamber that keeps chaff a safe distance away from flames and heat sources. Get in the habit of emptying the chaff collection chamber at the end of each roast day, once your machine has cooled down. It helps to prevent against fire (chaff is VERY flammable) and you’ll be prepared to start your next roast day right!
3. Proper maintenance is key! The more frequently you clean the inside of your machine, the easier it will be to clean the next time. Create a schedule for how often you clean each roaster part, depending on where and how quickly coffee oils and residue build up. That way you’ll never go too long without taking care of your precious equipment!
4. There is a coffee dust, a powdery light brown substance, that sticks on the inside of the roasting machine in various locations. It is usually easy to remove with a soft brush - a toilet brush or large paintbrush will do - and a vacuum. Cleaning this regularly will prevent thicker oils from taking hold, so make sure to brush this stuff off frequently!
5. Coffee oils build up slowly over time on the inside of the roaster. They are difficult to remove because the heat of the roaster bakes the oils onto the internal surfaces of the roaster. If the machine is cleaned and maintained regularly, coffee oils will not build up too much, too thick, or too quickly. Regular cleaning and maintenance is key!
6. The top of the cooling tray might look clean, but cooling trays can get really nasty underneath! Make sure to take the grate off regularly to clean coffee oils and buildup from its underside. Also, use a roller brush to keep the grate holes clear. Clogged holes will impede airflow, change how your machine operates, and could have a negative effect on the flavor and clarity of your coffee.
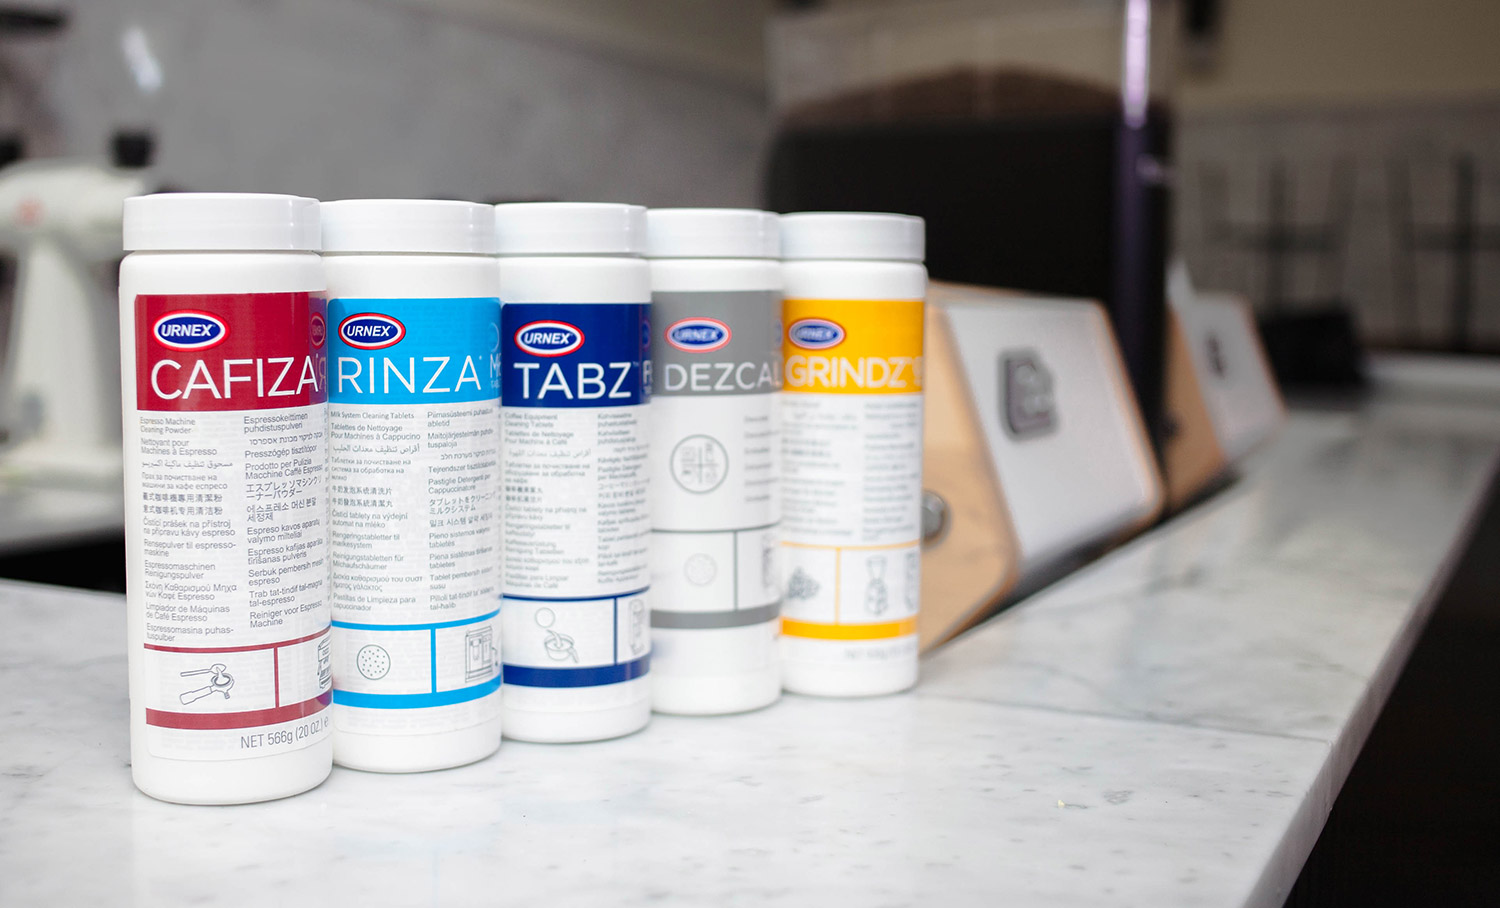
7. Get Urnex’s roaster cleaner, called Roaster Sprayz. No joke, this stuff works better than anything else I’ve used to cut through layers and layers of caked on oil and residue. To use: remove excess buildup with a soft brush, spray on Urnex Roaster Sprayz, let sit for 15 seconds to 1 minute (depending on the thickness of the residue), wipe with a clean towel, then spray the same area with clean water and wipe dry. It’s that easy!
8. Don’t forget to clean the outside of your machine! It might seem like a nonsense thing. After all, the coffee doesn’t touch the outside of the roaster. But most roasteries aren’t the cleanest of places, and flammable material can still settle on the outside of your machine. Use a wet towel, Urnex Café Wipz or Stainless Wipz, or another soft non-abrasive cleaning cloth to wipe the outside of your machine occasionally to keep it looking shiny and new!
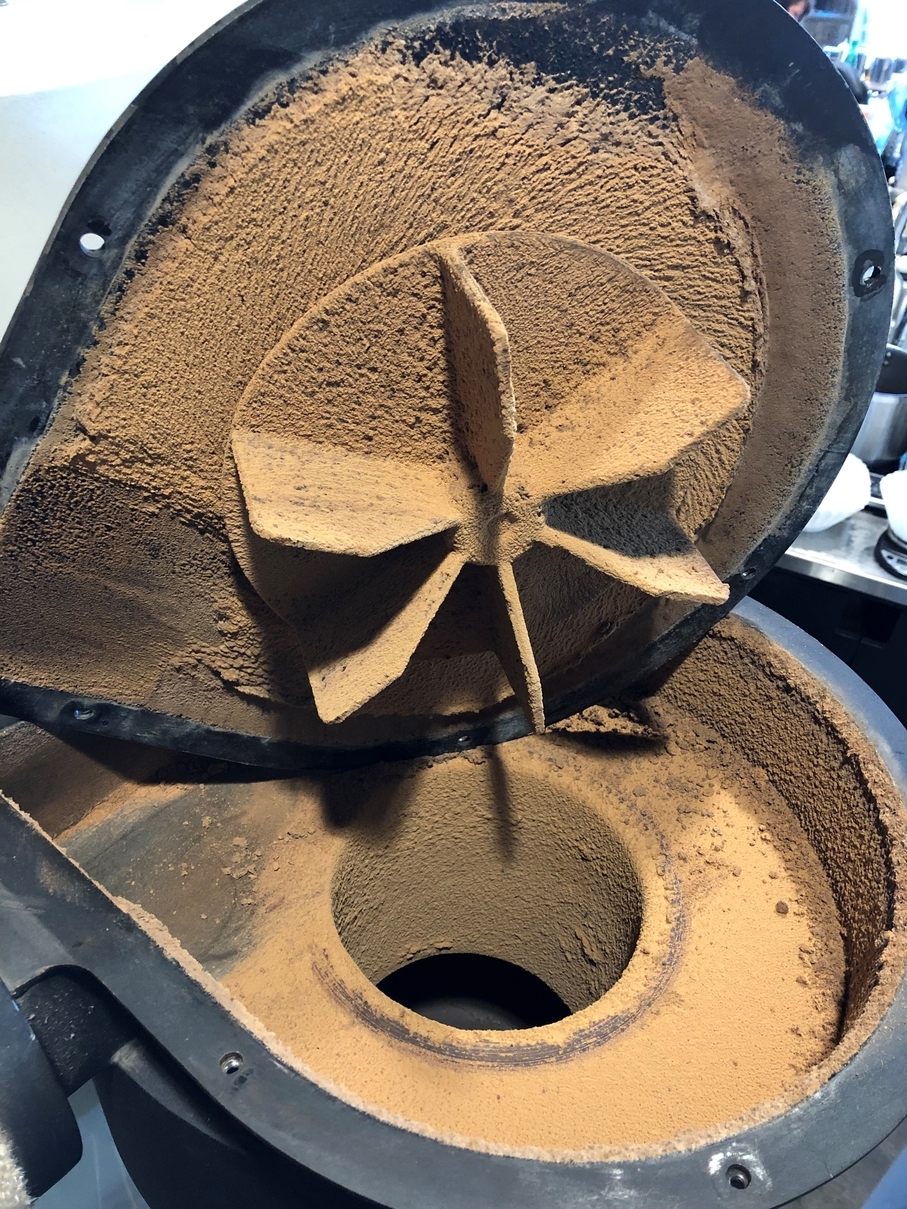
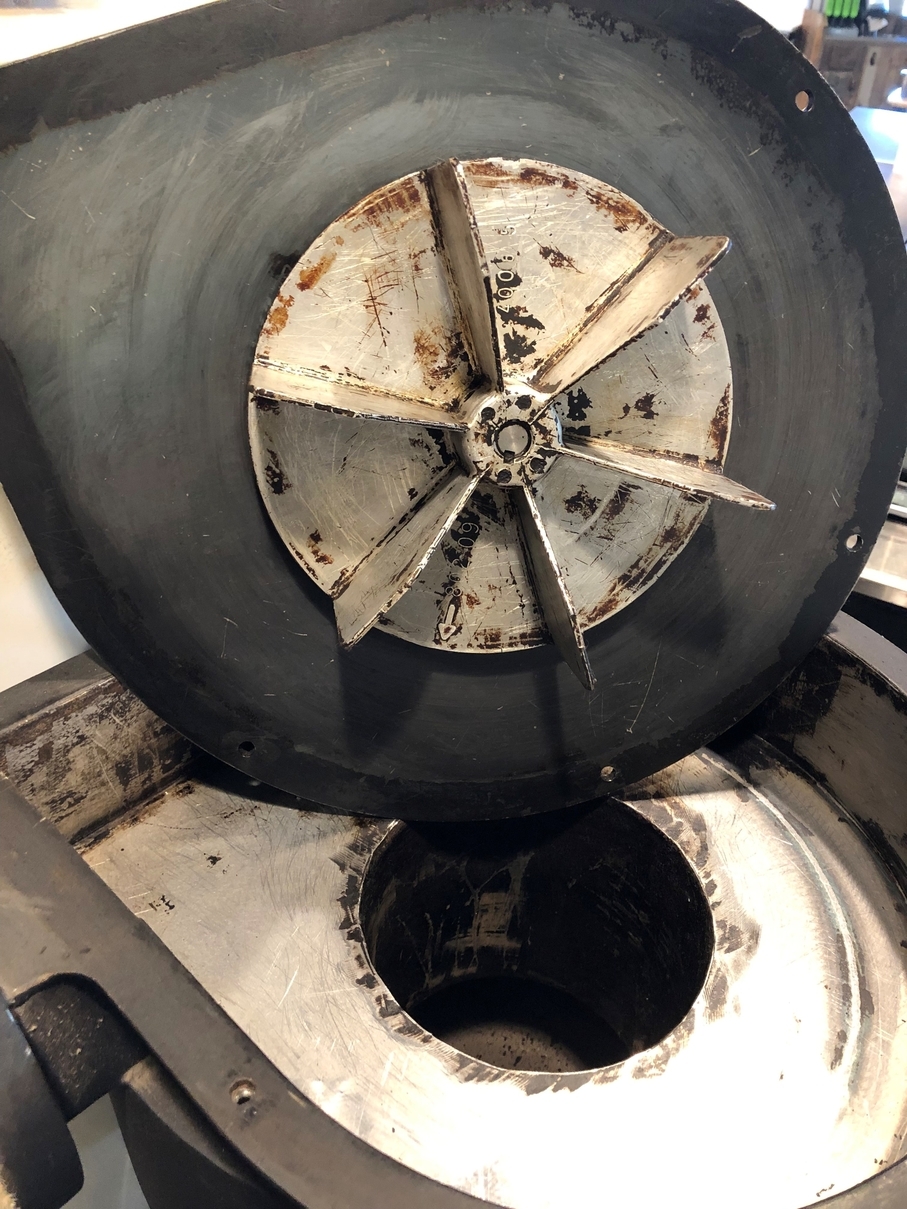
9. All roaster machines have a big fan (sometimes called the “cooling fan” or the “impeller fan”) that drives airflow throughout the machine. In all machines I’ve worked with, the fan compartment is at BIG risk for flammable coffee residue buildup. It can be a pain, but removing the fan from the machine and cleaning it adequately and frequently will keep airflow consistent and lessen the risk of fire. Plus, it’s super satisfying to see how the fan cleans up!
10. Make sure to wear the proper gear while you clean your machine. Goggles or big glasses are important to keep debris and chemicals out of your eyes. Get a mask to protect your lungs from all the gunk and dust that is removed during cleaning. And wear rubber or latex gloves to keep your hands free of chemicals, oils, and grime. Be safe out there!
11. Do you have any baristas or production assistants who are interested in learning to roast? Pull them into the roastery on roaster cleaning day to help out. It can be a great way to connect with them on a deeper level. Plus, it’ll break them in and show them the gritty side of roasting ;)
12. When I clean my roaster, I like to break it into segments. As I finish cleaning each section, I allow myself to step away for a 5 to 10-minute break. This gives me time to breathe some fresh air, plus helps me pace myself throughout a long roaster cleaning day. Also, I start with the gnarliest and dirtiest parts of the roaster, so the hard work is done first, and the work just gets easier!